OneWorldSIS Core Setup Steps
Notation
Screenshots are used to demonstrate how to complete the setup steps. When completing fields on a Form, the fields might be notated with a red asterisk ( * ). Fields marked with a red asterisk are required to be completed before the data on the Form can be saved.
For faster completion of fields on a Form, the lookup function may be used. Type part of the data to be entered and then click on the magnifying glass icon on the right side of the field. For example, enter “Math” to quickly find the Mathematics Department in Department lookup.
Help
Additional information including a general overview and user interface information can be found under Help. Click on the Question Mark icon ( ? ) in the upper right area of the screen in order to access Help.
OneWorldSIS provides the ability for educational institutions to manage the complete student life by using the flexibility and strength of Microsoft Dynamics 365. Like other Student Management systems, core records need to be set up in OneWorldSIS in order to enable and use the core functionality. Standard setup records in OneWorldSIS include certificate programs, courses, classes, and related core data such as terms and grade scales. This document provides step-by-step instructions for adding the basic core records to register a student for a class.
Installation and Core Configuration Tables Web Client
One Zip file needs to be installed for the initial OneWorldSIS installation. Afterwards, four data files need to be imported.
To install OneWorldSIS, go into the CRM program, then go to Settings >> Solutions. Click on the Import button ( not Import Translations ). When asked, choose the button Activate any SDK Message Processing.
- In the browse window, select the OneWorldSIS zip file. Go through steps to complete import.
- After import, you need to hit Publish.
- At this point, you need to exit out of CRM, and then come back in. All OneWorldSIS menu choices will now be available. OWSIS adds 3 menu selections to the main CRM ribbon: Education, Health and Wellness, and Education Settings. Most of the setup information will be entered under Education Settings. Most of the daily work will be done under Education.
- Review the basis for auto numbering and update the AutoNumber.xslx file based on individual school preference.
- Go to Settings >> Data Management >> Imports. Click the Import Data button, and select the AutoNumber.xslx file. Click Next. Verify that No is selected for the Allow Duplicates option. The Owner information will be overwritten by what is contained in the file. Click Submit to import the data. This will set up auto numbering for all the custom entities.
- Go to Settings >> Data Management >> Imports. Click the Import Data button, and select the Language.xslx file. Continue clicking Next through the import wizard. Verify that No is selected for the Allow Duplicates option. The Owner information will be overwritten by what is contained in the file. Click Submit to import the data. This will set up the languages in the system.
- Repeat step 6 for the Country.xslx file and then the AreaCode.xslx file.
General Setup
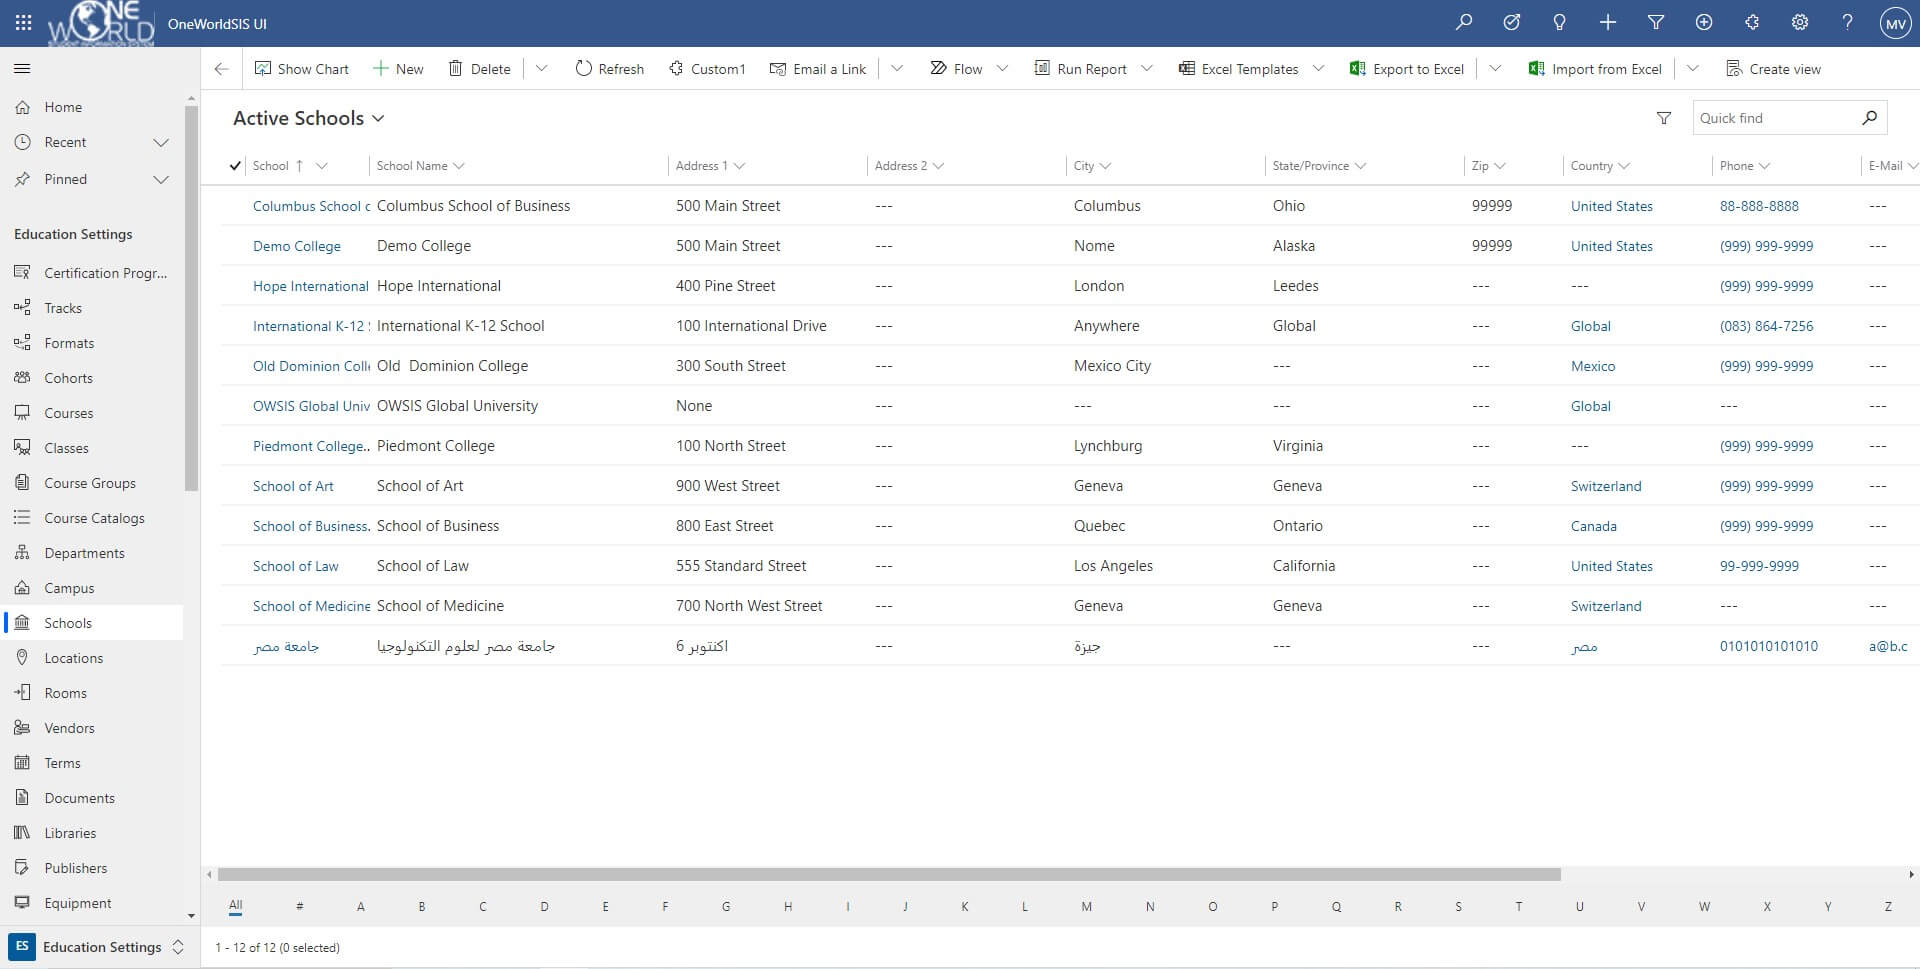
Add a School
In order to set up other data, a School needs to be added first.
- Choose Education Settings >> Schools.
- Click New which is located on the upper left side of the screen.
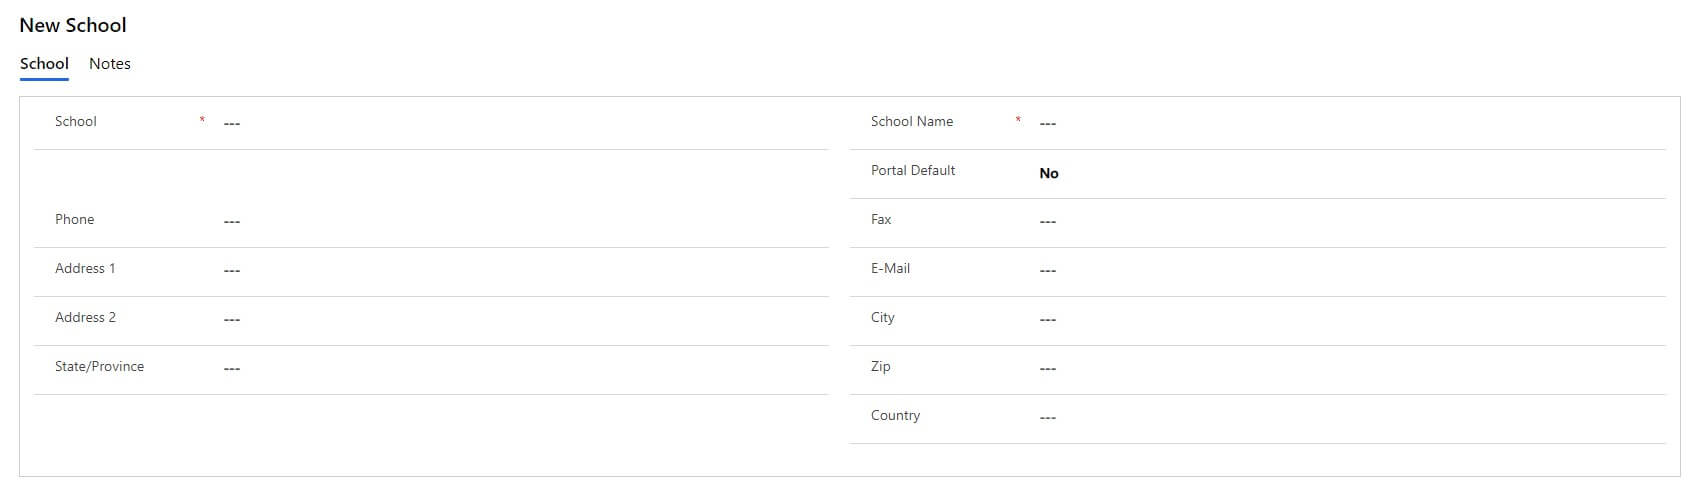
- Complete the form including all required fields.
- Click Save which is located on the upper left side of the screen.
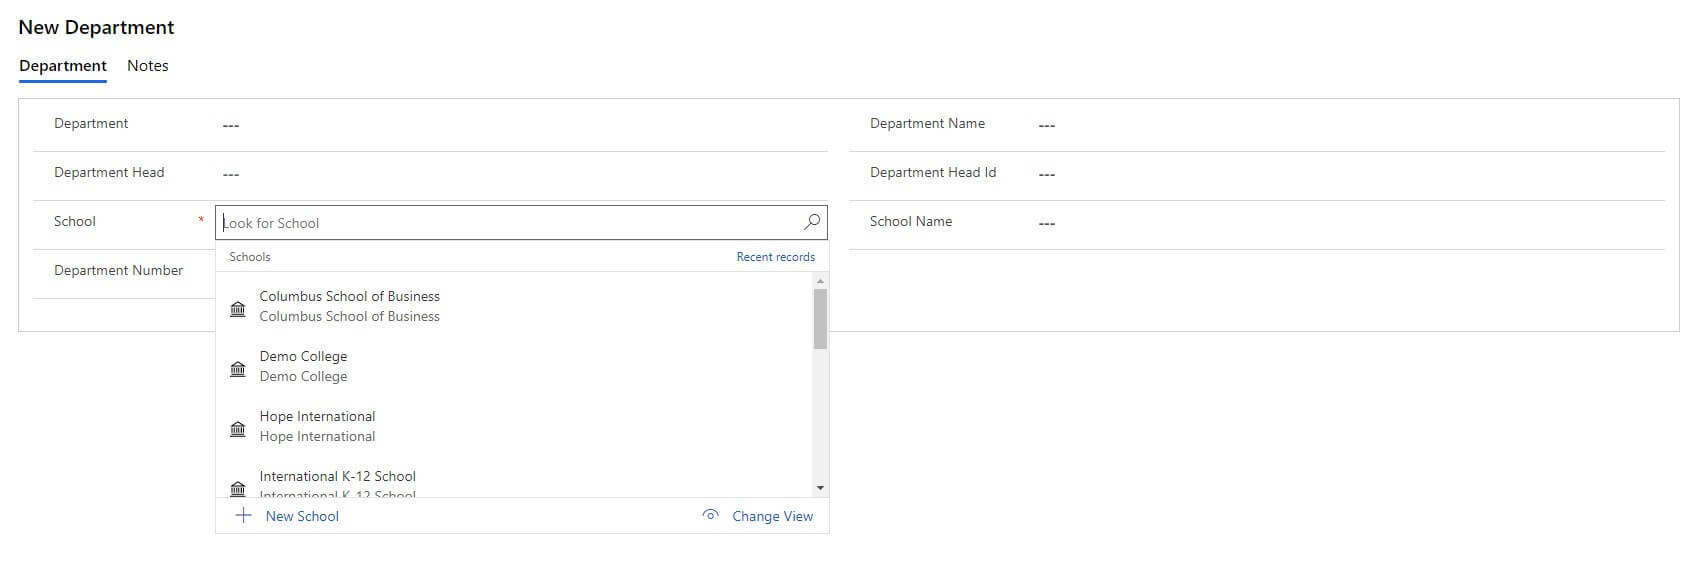
Add a Department
In order to set up other data, a Department needs to be added next.
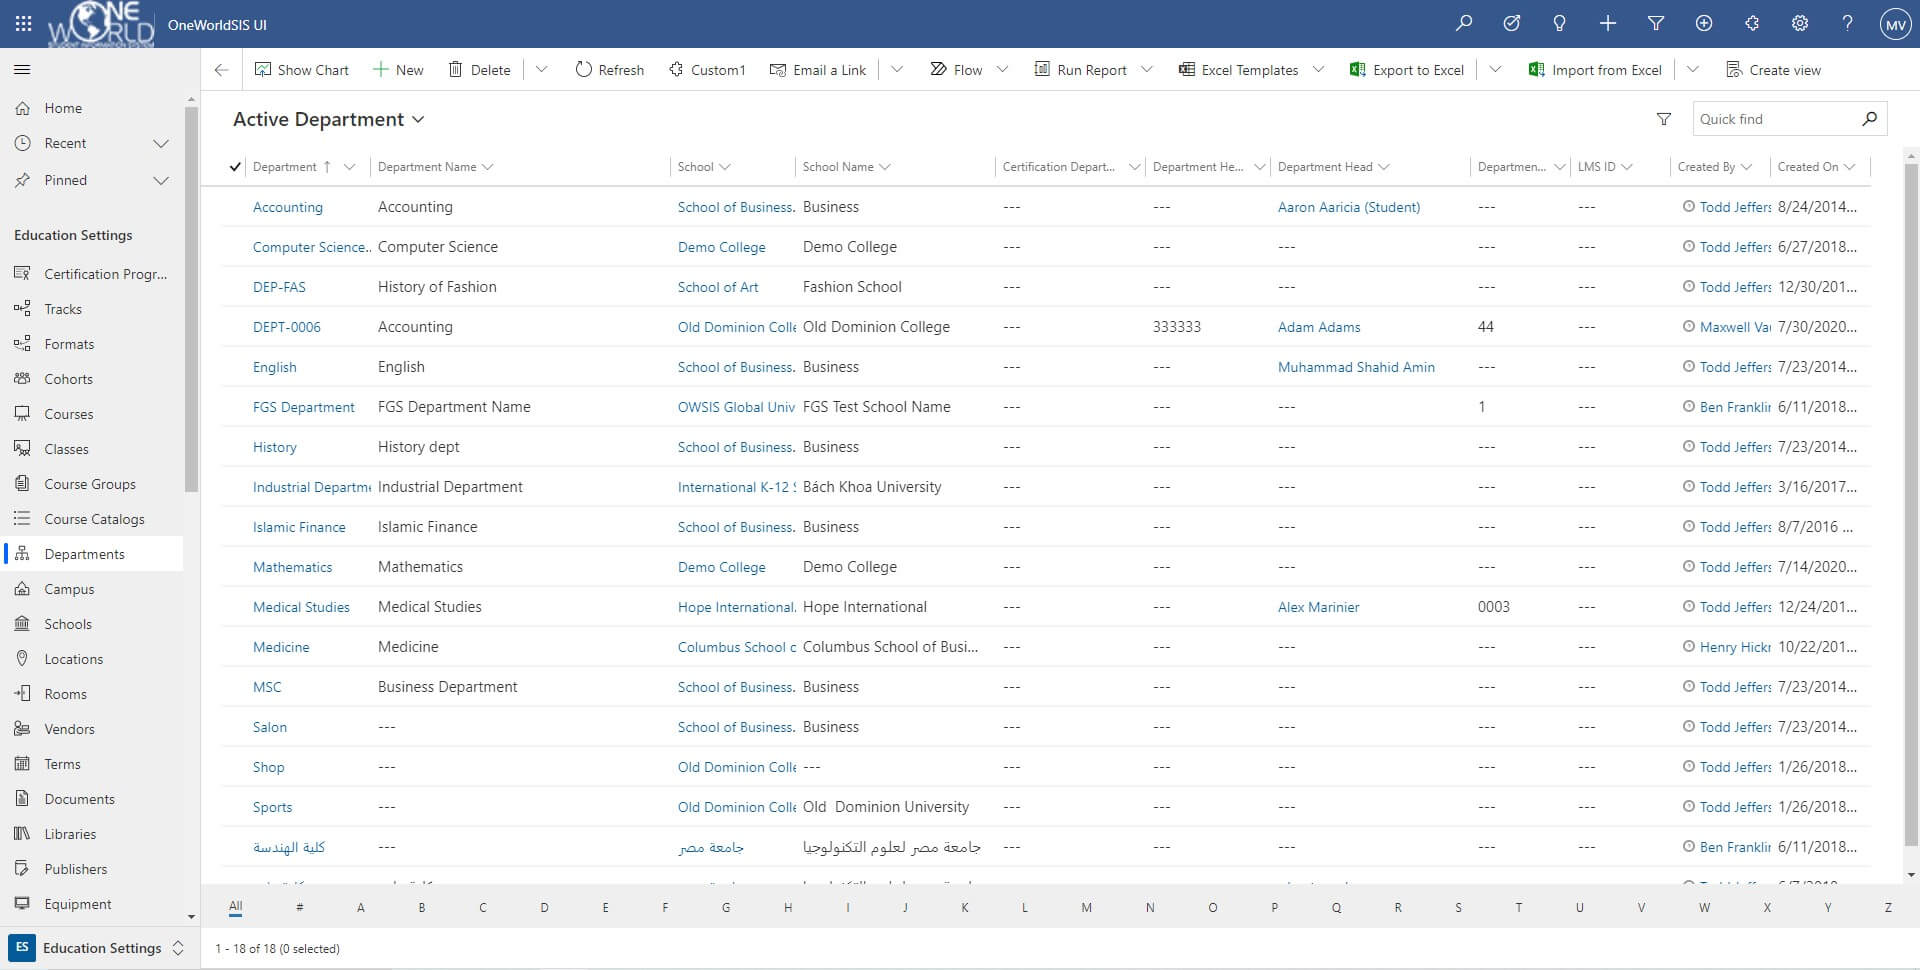
- Choose Education Settings >> Departments.
- Click New which is located on the upper left side of the screen.
- Complete the form including all required fields. The School Name can be typed in the field or selected using the search.
- Click Save which is located on the upper left side of the screen.
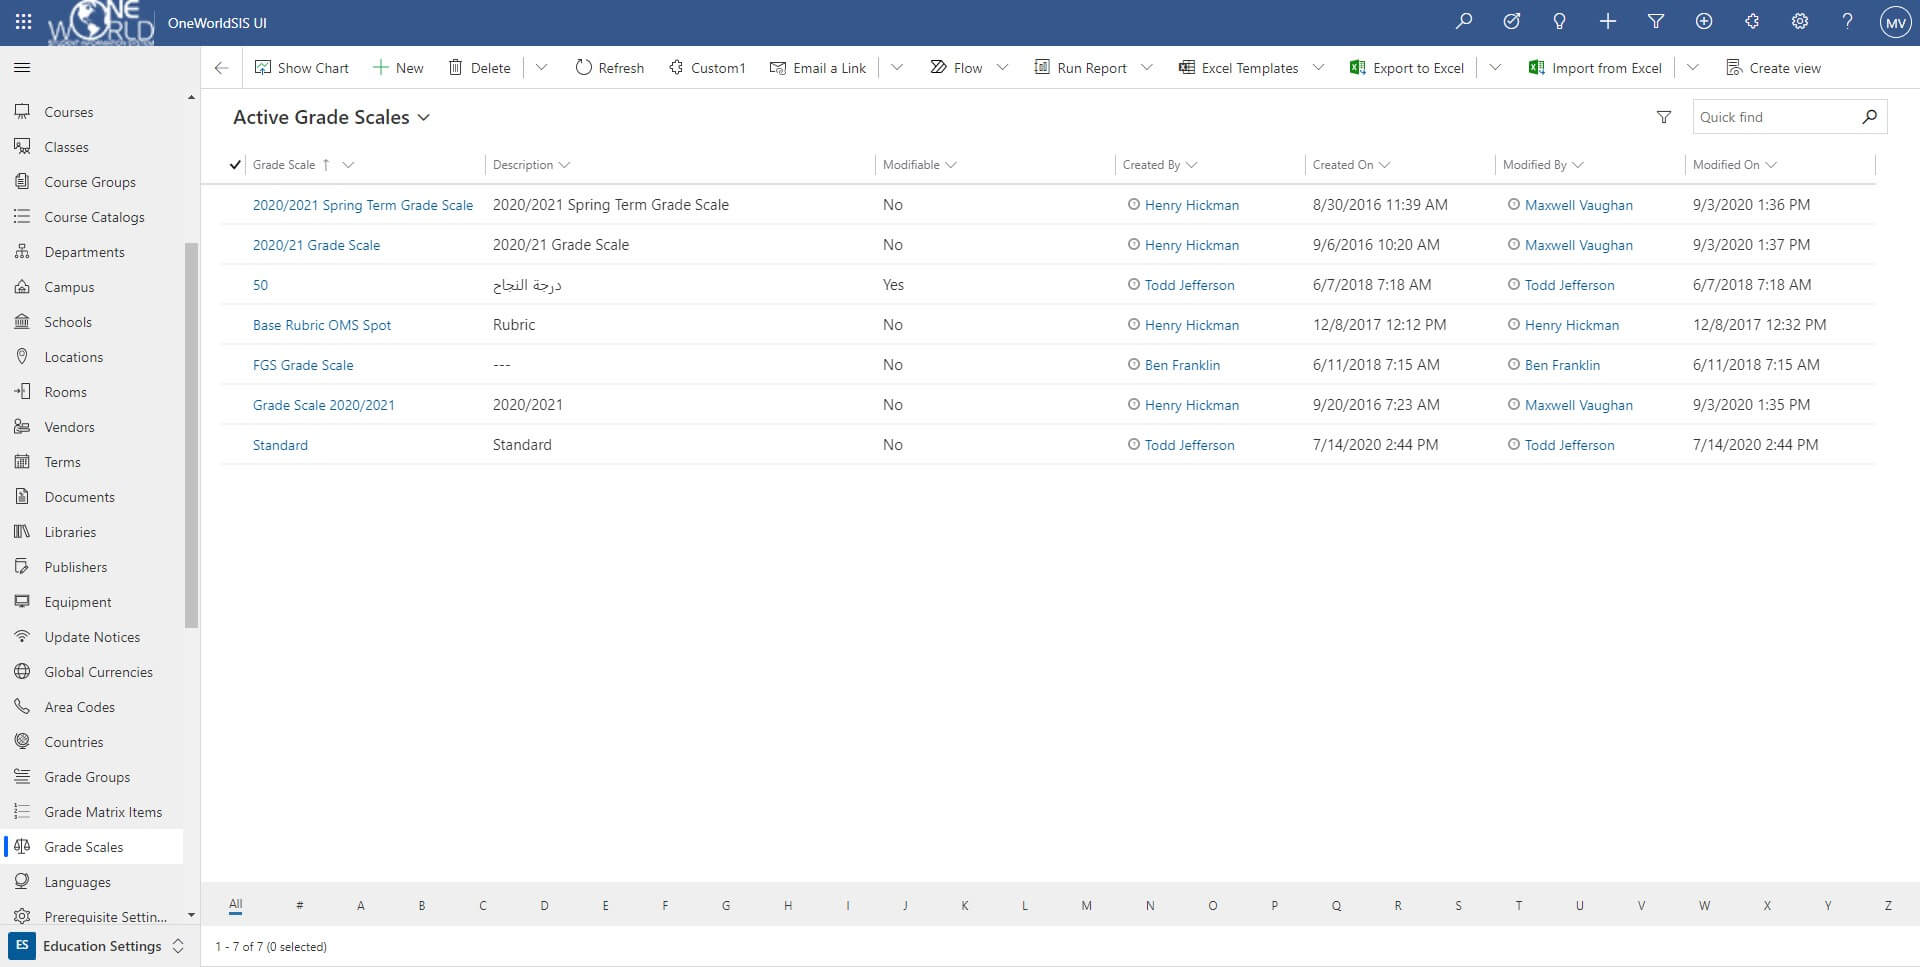
Add a Grade Scale
In order to make a Class available for registration, a Term needs to be added. A Term is defined by its start and end dates.
- Choose Education Settings >> Grade Scales.
- Click New which is located on the upper left side of the screen.
- Provide a name for the Grade Scale.
- Click Save which is located on the upper left side of the screen.
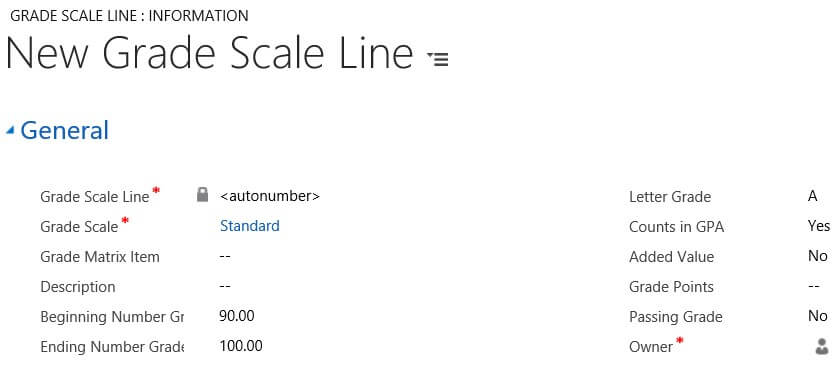
- Click the + located on the right side of the screen in order to add a grade scale line.
- Complete the form including all required fields.
- Click Save & Close which is located on the upper left side of the screen.
- Repeat steps 5 – 7 to add additional grade scale lines in order to complete the grade scale.

Figure 16: List of Grade Scale Lines


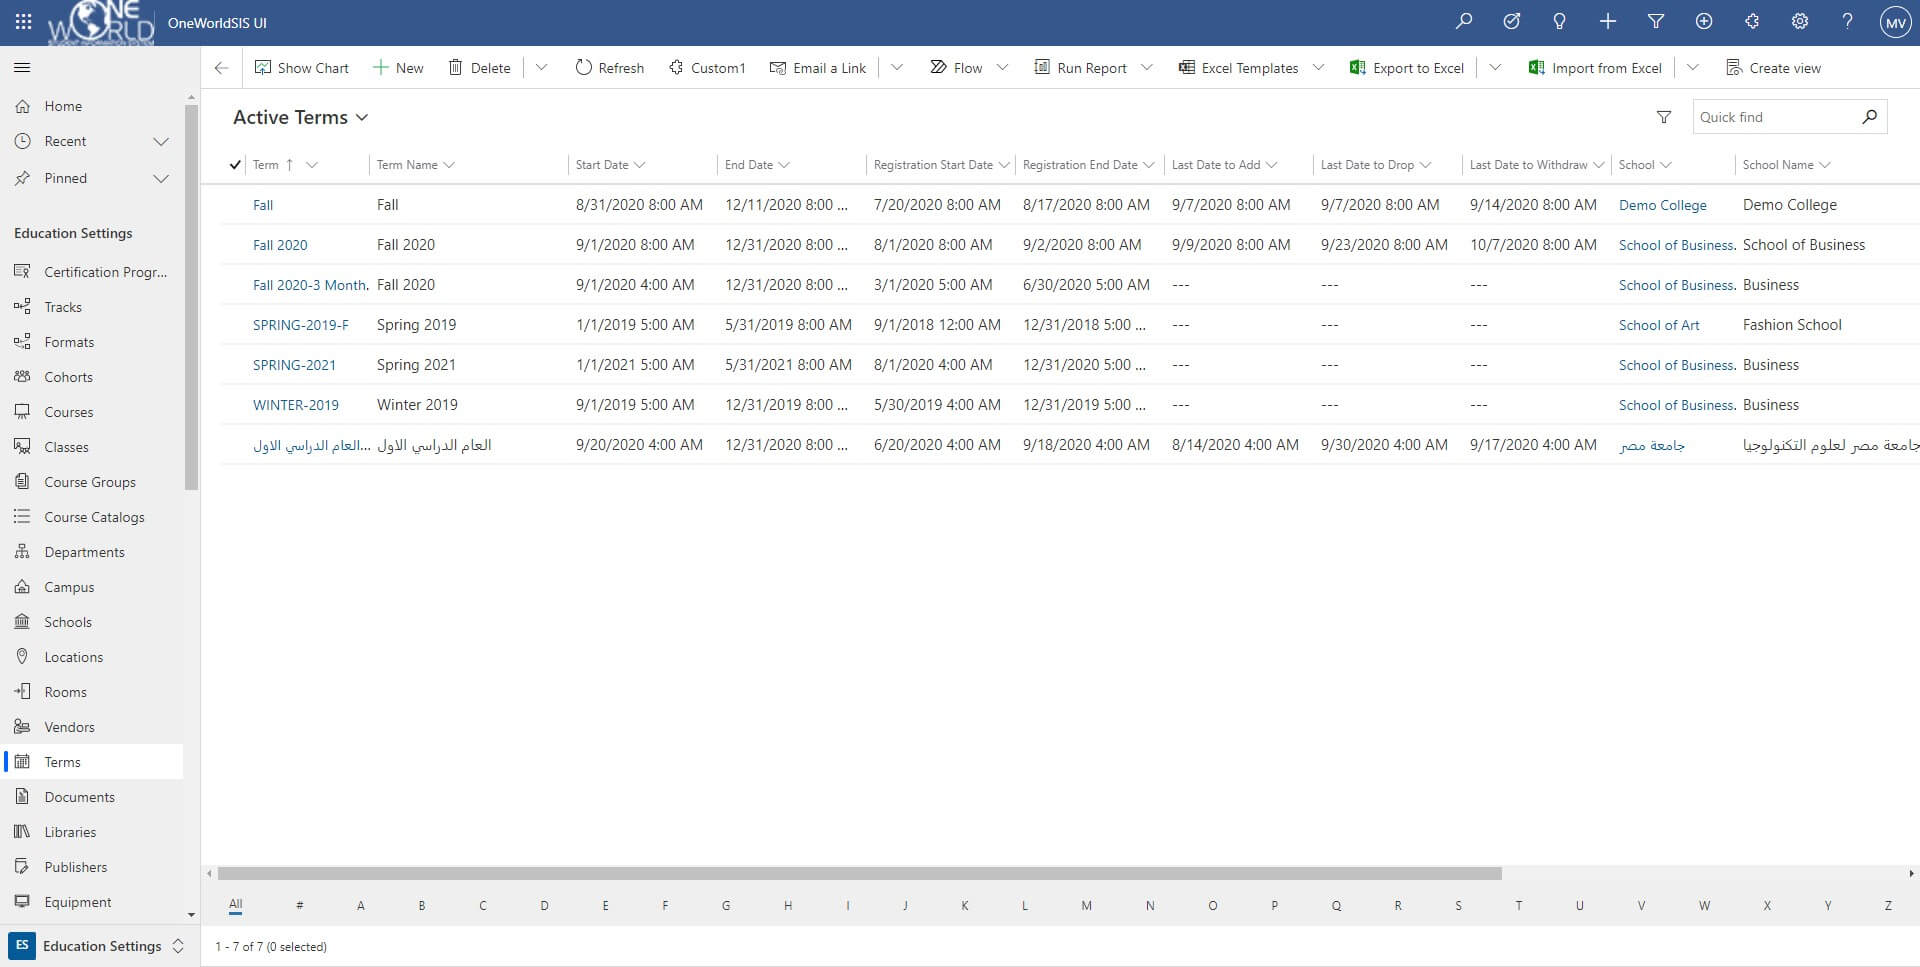
Add a Term
In order to make a Class available for registration, a Term must first be added. A Term is defined by its start and end dates.
- Choose Education Settings >> Terms.
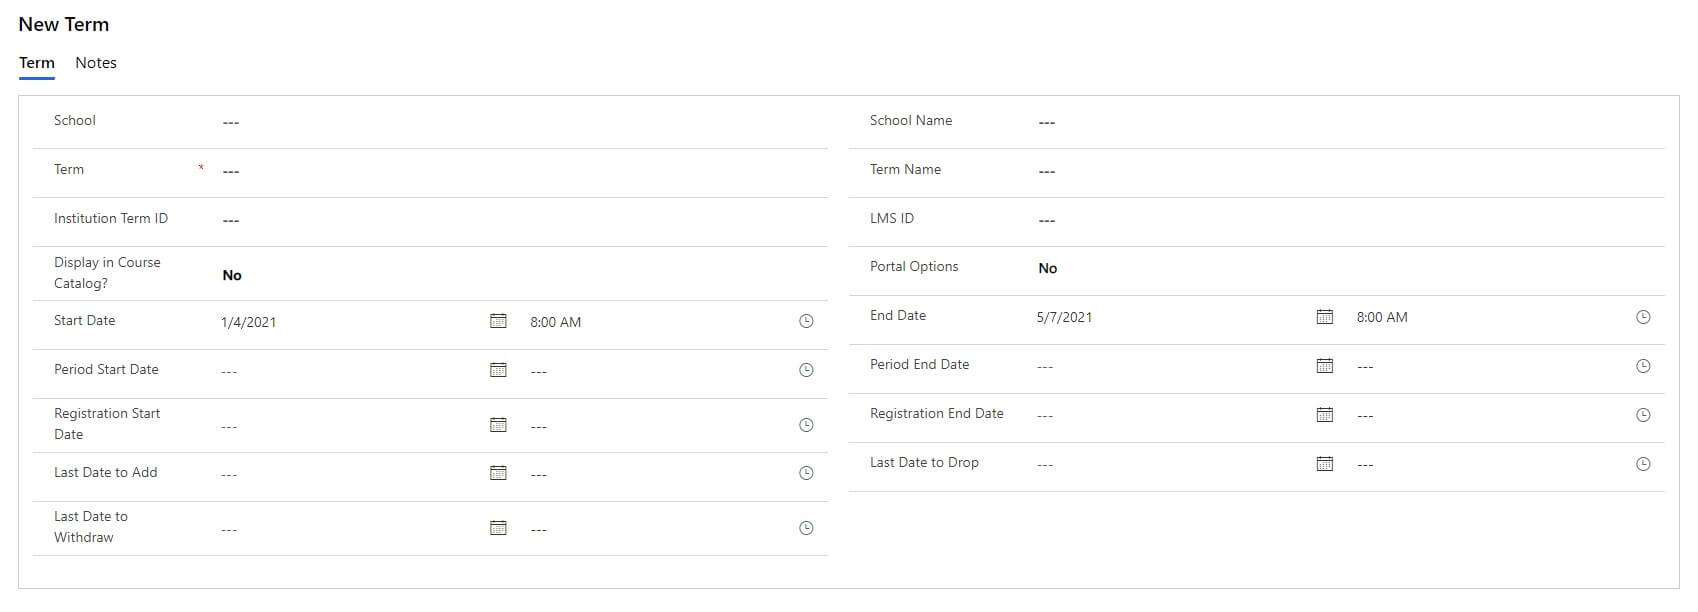
- Click New which is located on the upper left side of the screen.
- The School Name can be typed in the field or selected using the search. Click on the calendar icon in order to use the date selector for entering dates.

Figure 19: Click on the Calendar Icon to Pick a Date - Complete the form including all required fields.
- Click Save which is located on the upper left side of the screen.
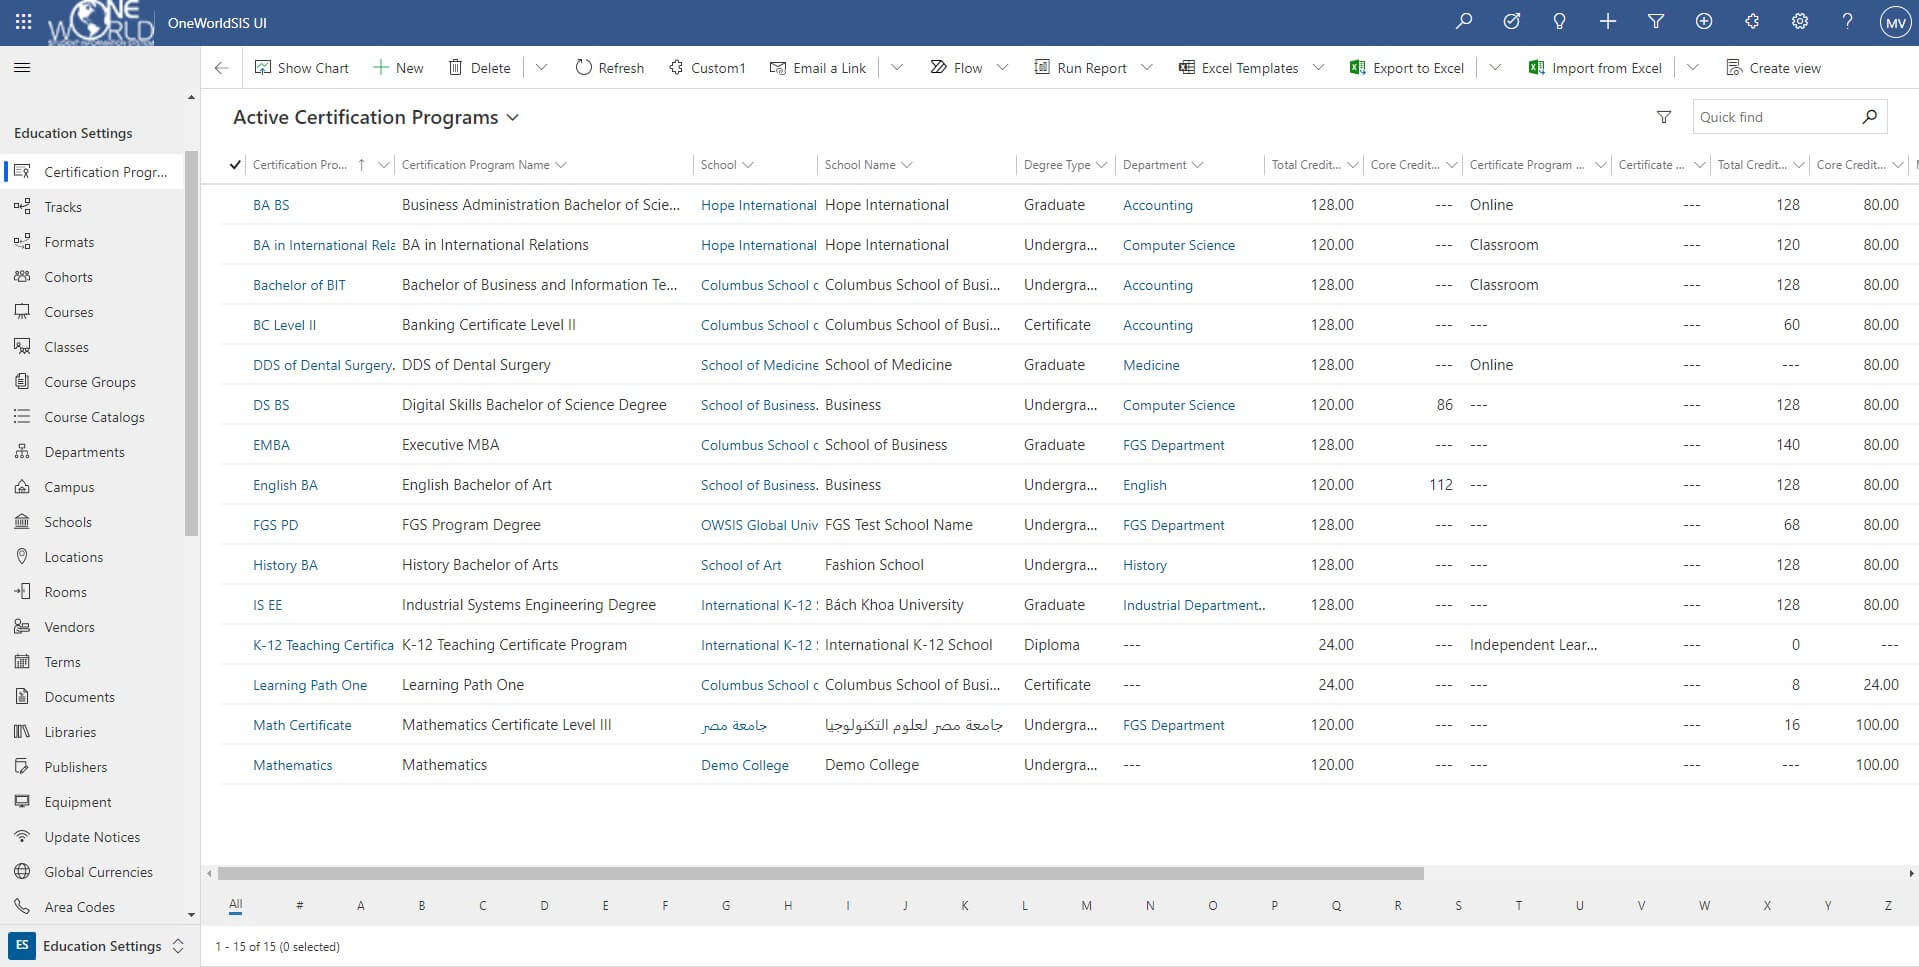
Add a Certification Program
Before adding a Course, a Certification Program may optionally be added. A Certification Program will then consist of mandatory and optional Courses. To graduate with the corresponding Certificate, all the mandatory Courses must be completed, and the balance of the required credits earned by taking Classes from the optional Course list.
- Choose Education Settings >> Certification Programs.
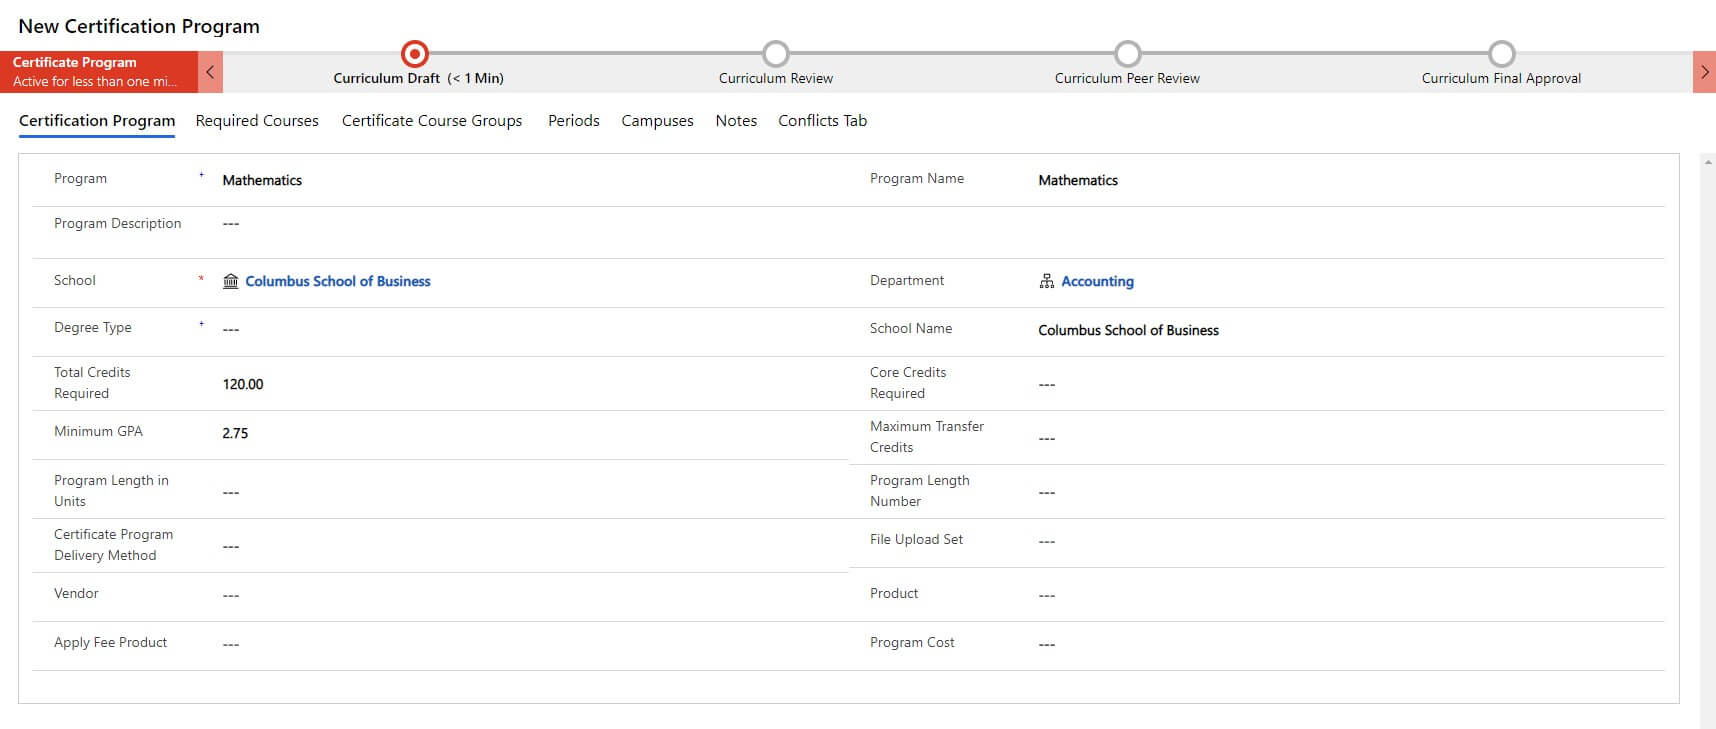
- Click New which is located on the upper left side of the screen.
- Complete the form including all required fields. The School Name can be typed in the field or selected using the search.
- Click Save which is located on the upper left side of the screen.
Add a Course
In order to make a Class available for registration, a Course needs to be added first. Note that a Course represents the material to be studied, and does not encompass a specific Term or an assigned lecturer (Faculty member). These two aspects are defined at the Class stage.
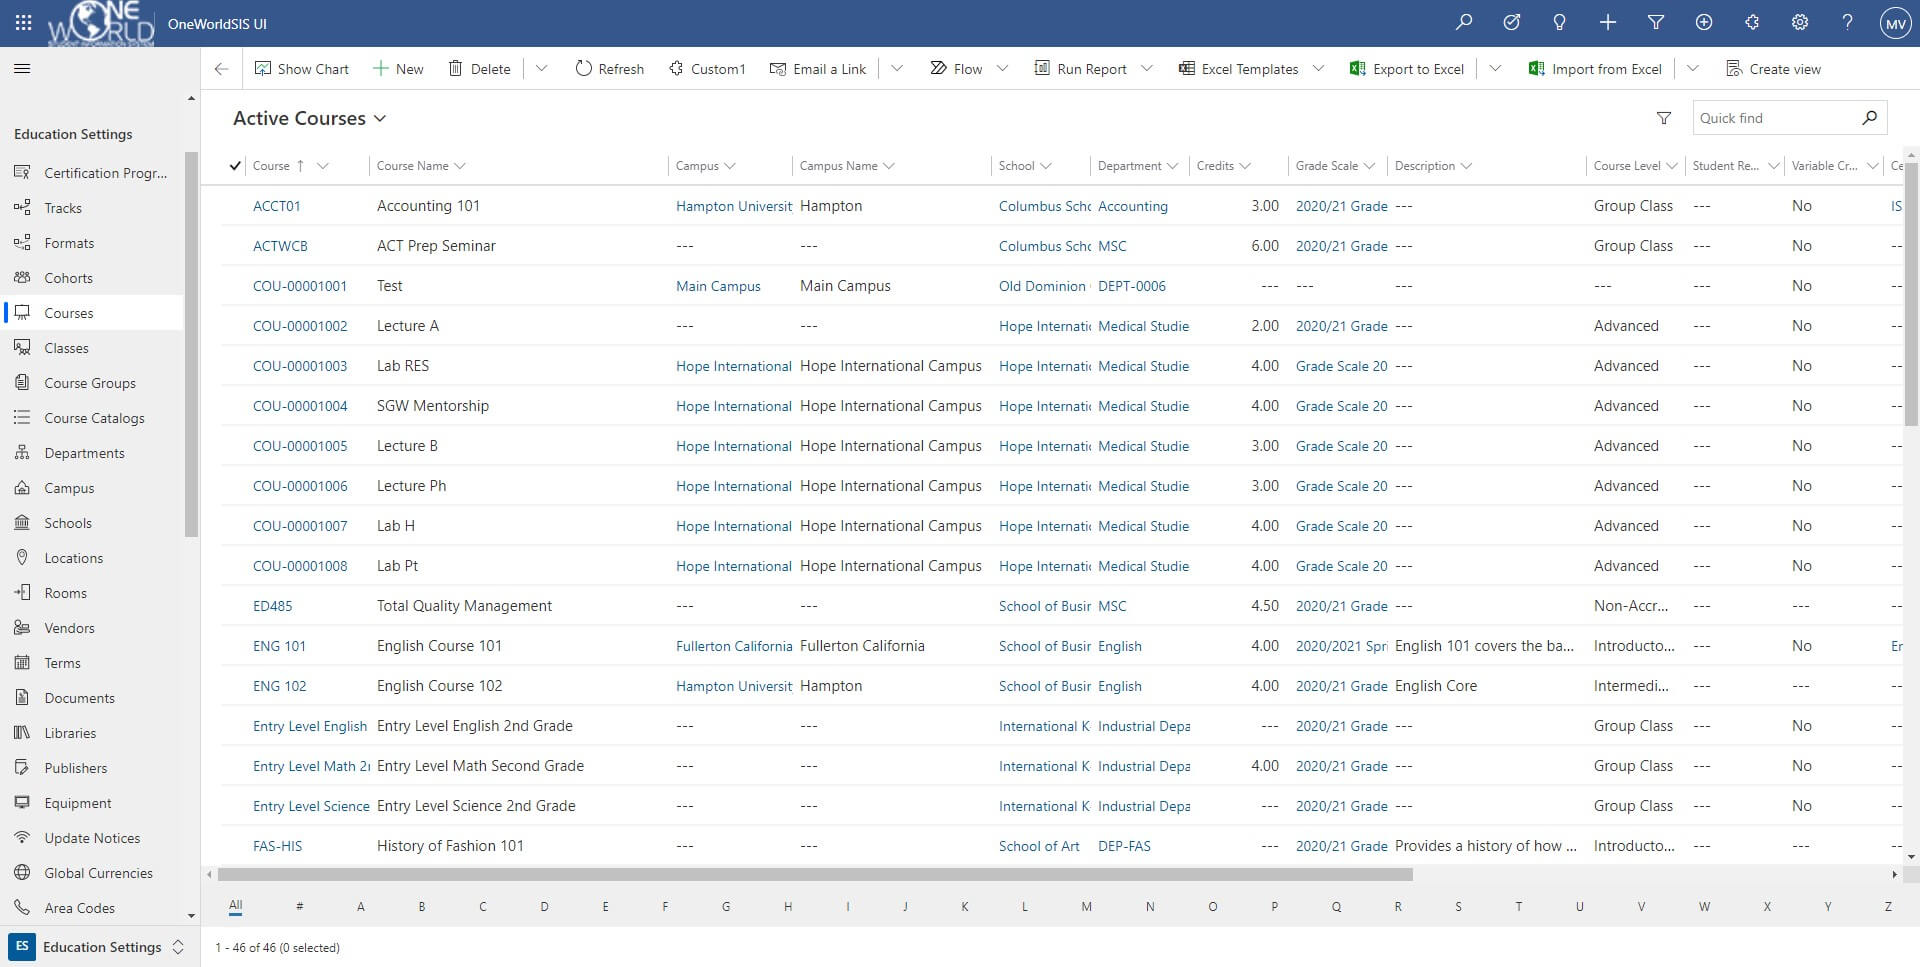
- Choose Education Settings >> Courses.
- Click New which is located on the upper left side of the screen.
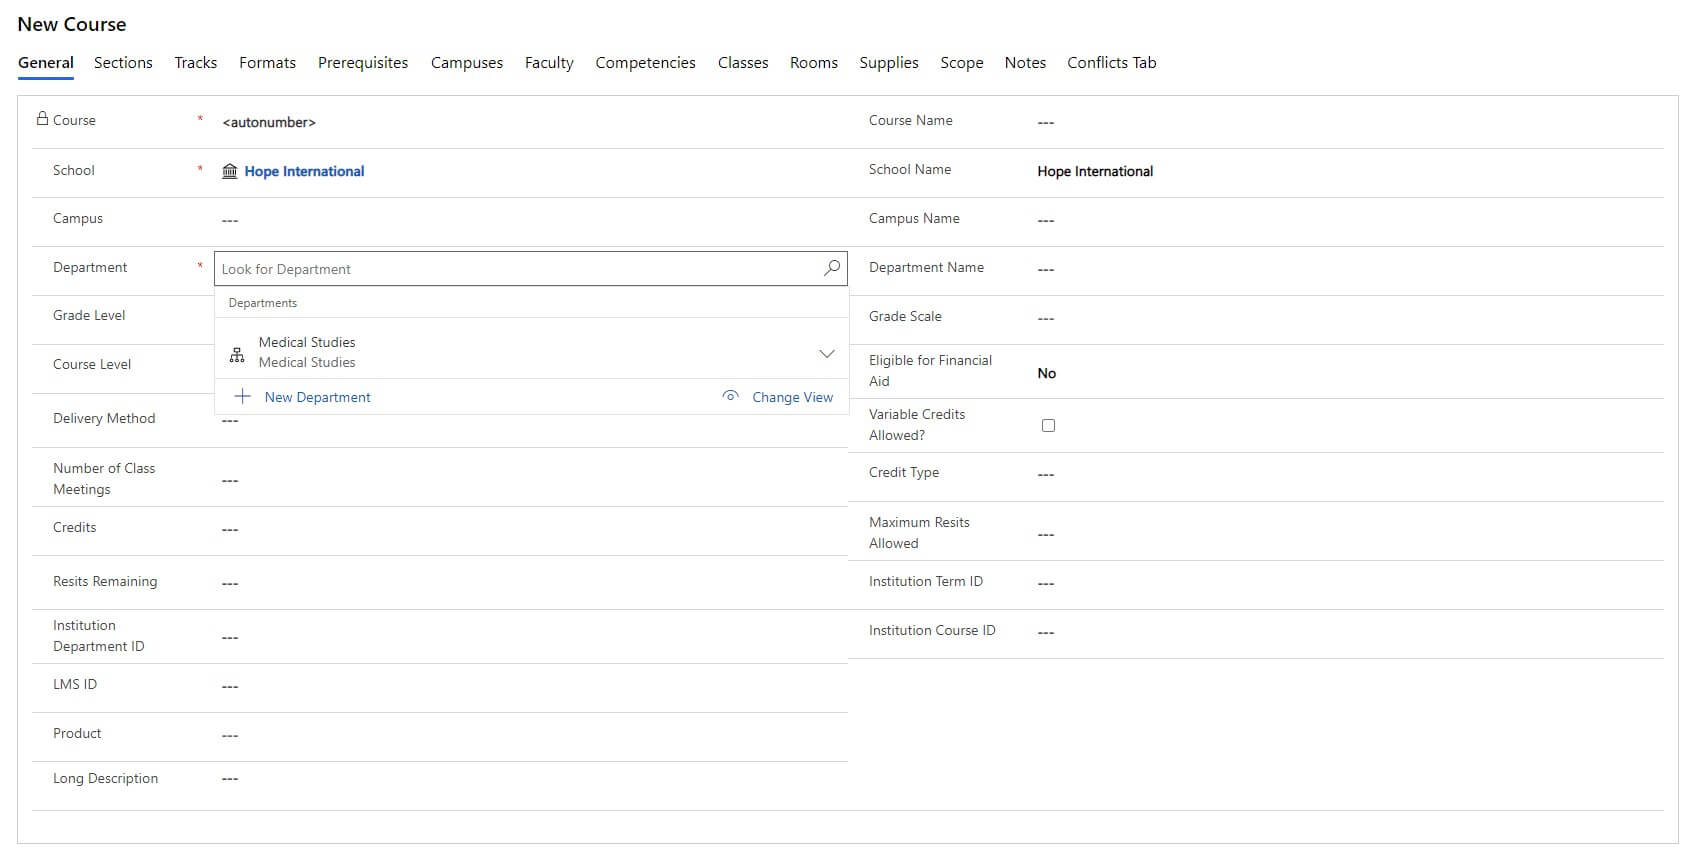
- The School Name and the Department can be typed in the fields or selected using the search.
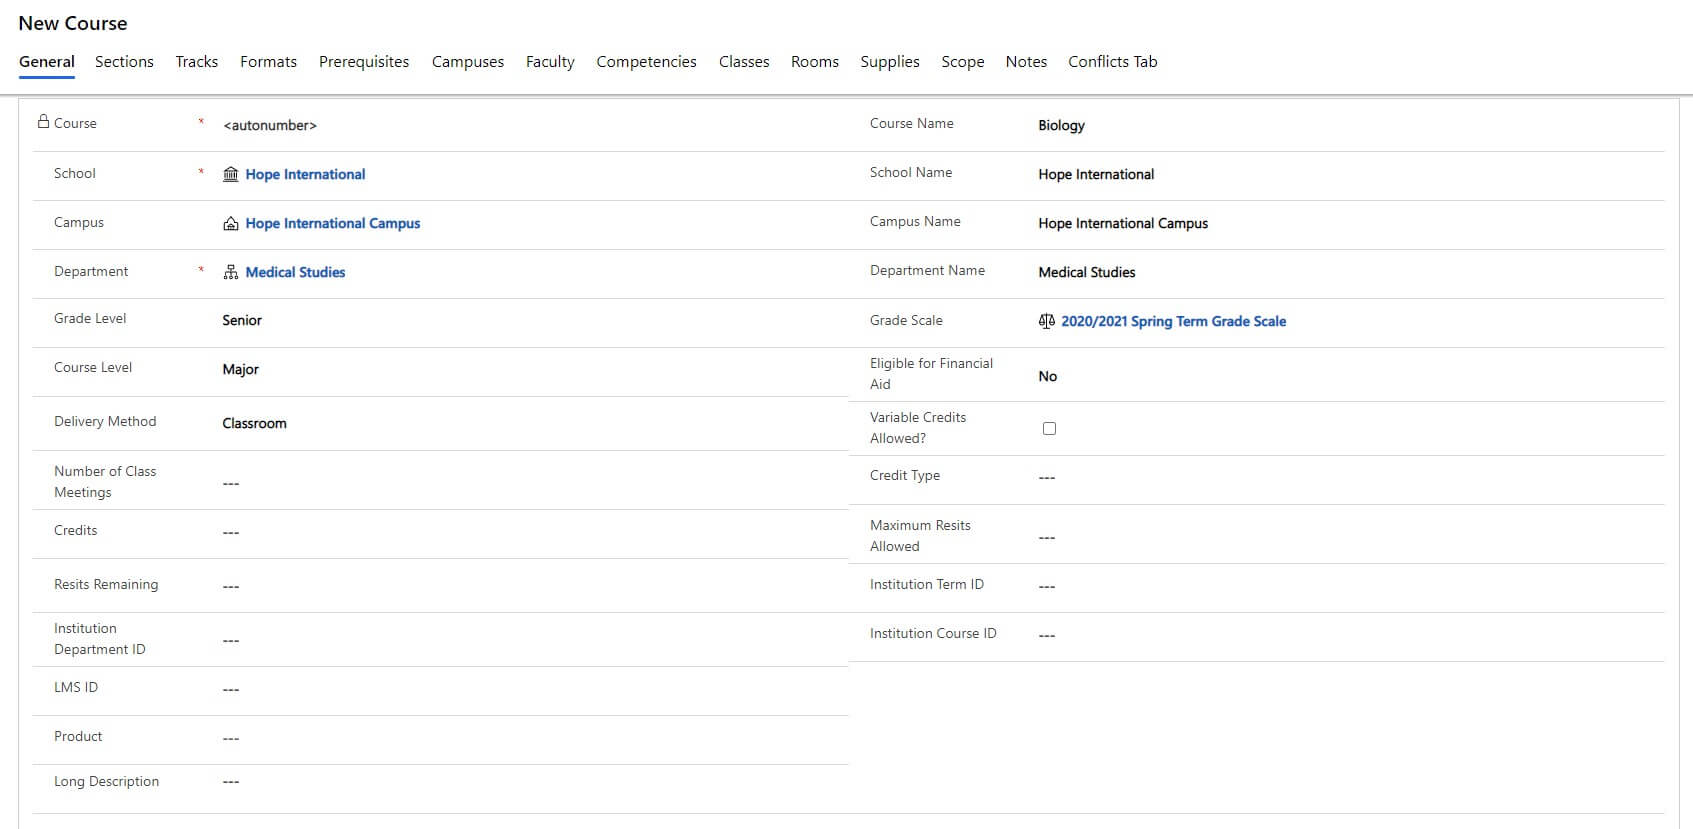
- Complete the form including all required fields. The Certification Program and Grade Scale which were added earlier can be associated with the Course by entering their names in the appropriate fields.
- Click Save which is located on the upper left side of the screen.
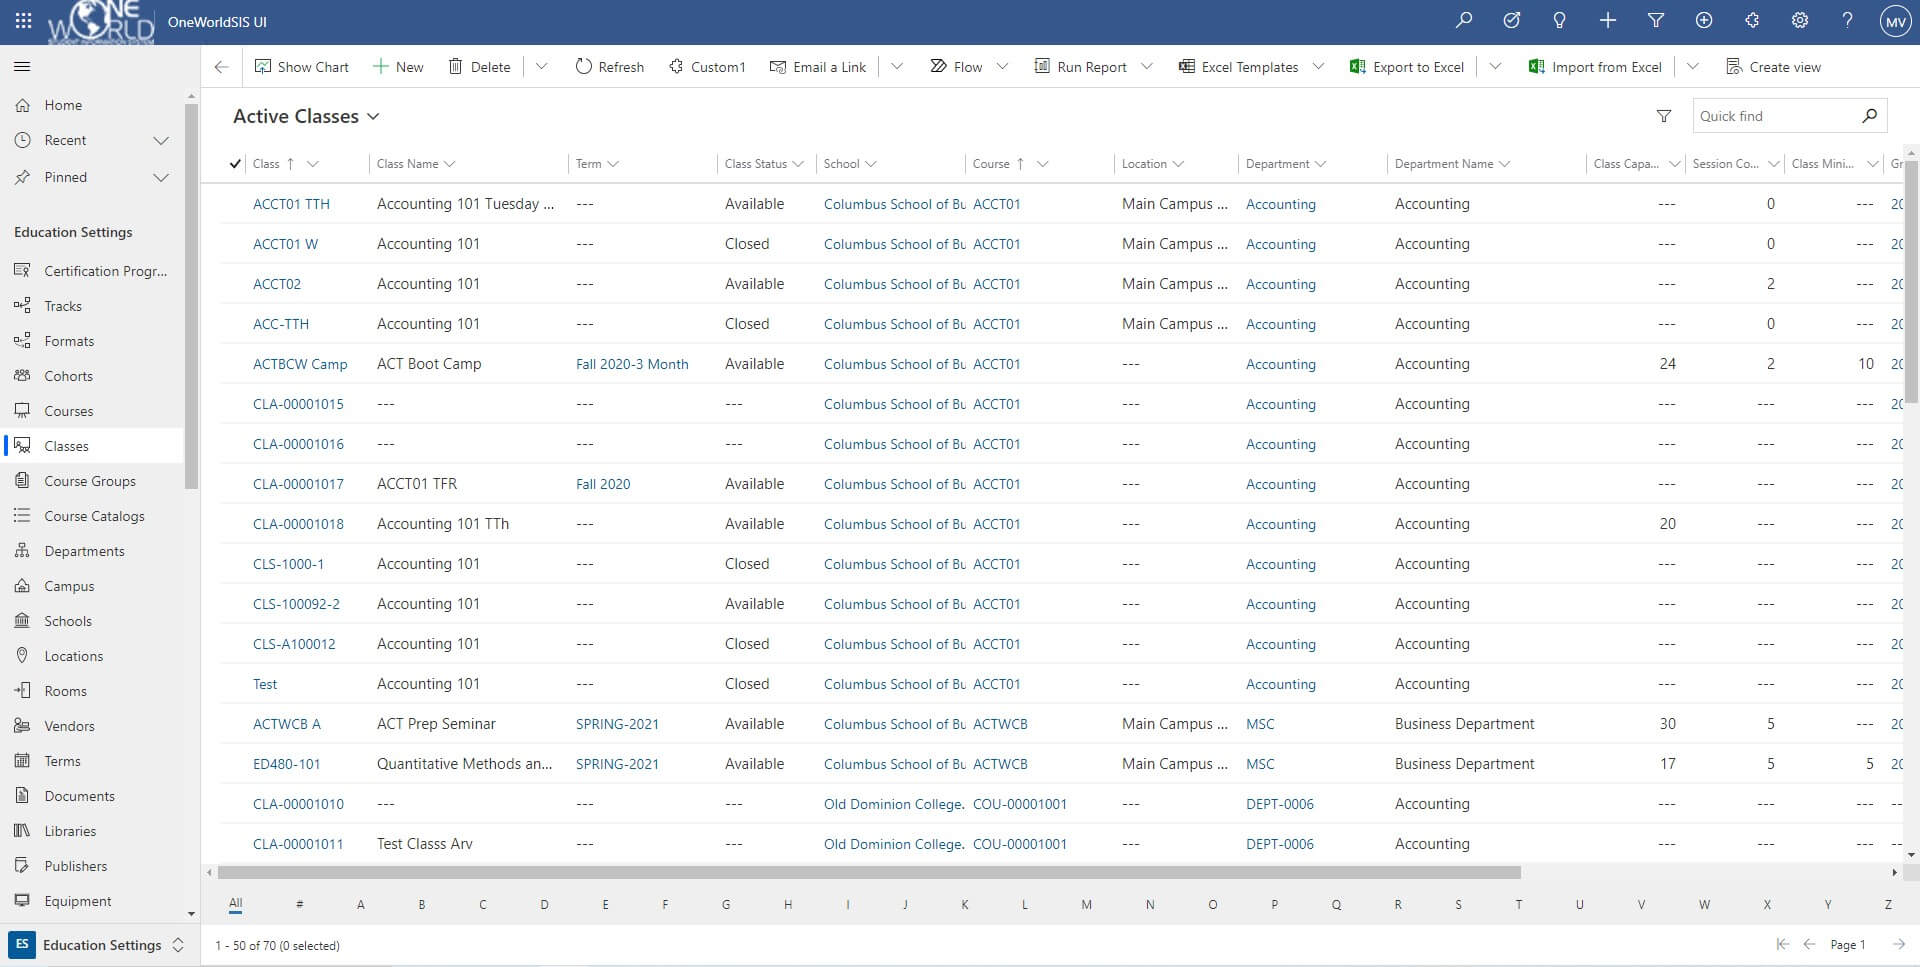
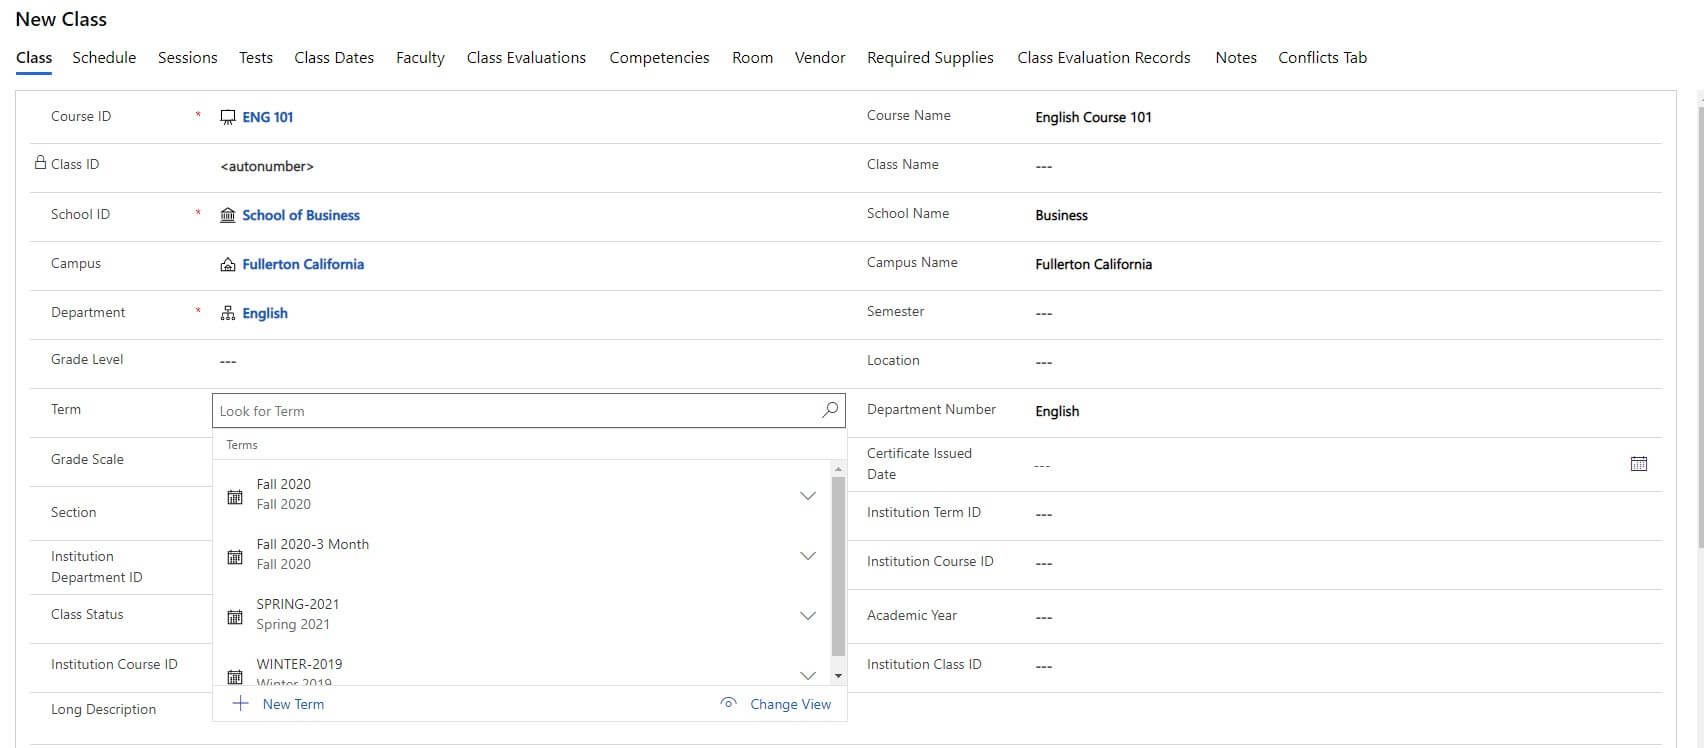
Add a Class
A Class is created from a Course. A Class is an instance of a Course for a particular Term and with specific assigned lecturer (Faculty member).
- Choose Education Settings >> Classes.
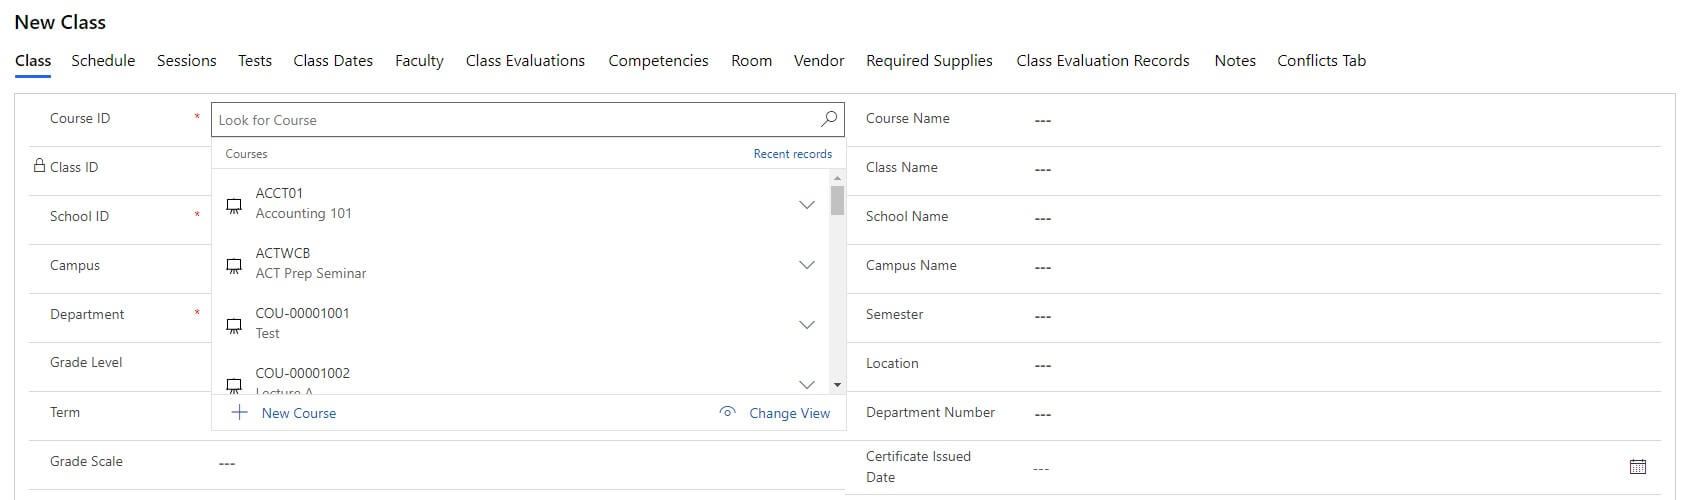
- Click New which is located on the upper left side of the screen.
- Enter the Course by either typing its name or using the search.
- Complete the form including all required fields. The School, Department, and Term should be entered.
- Click Save which is located on the upper left side of the screen.

Register a Student
In order to register a Student, the Student first needs to be added to OWSIS as a Contact.
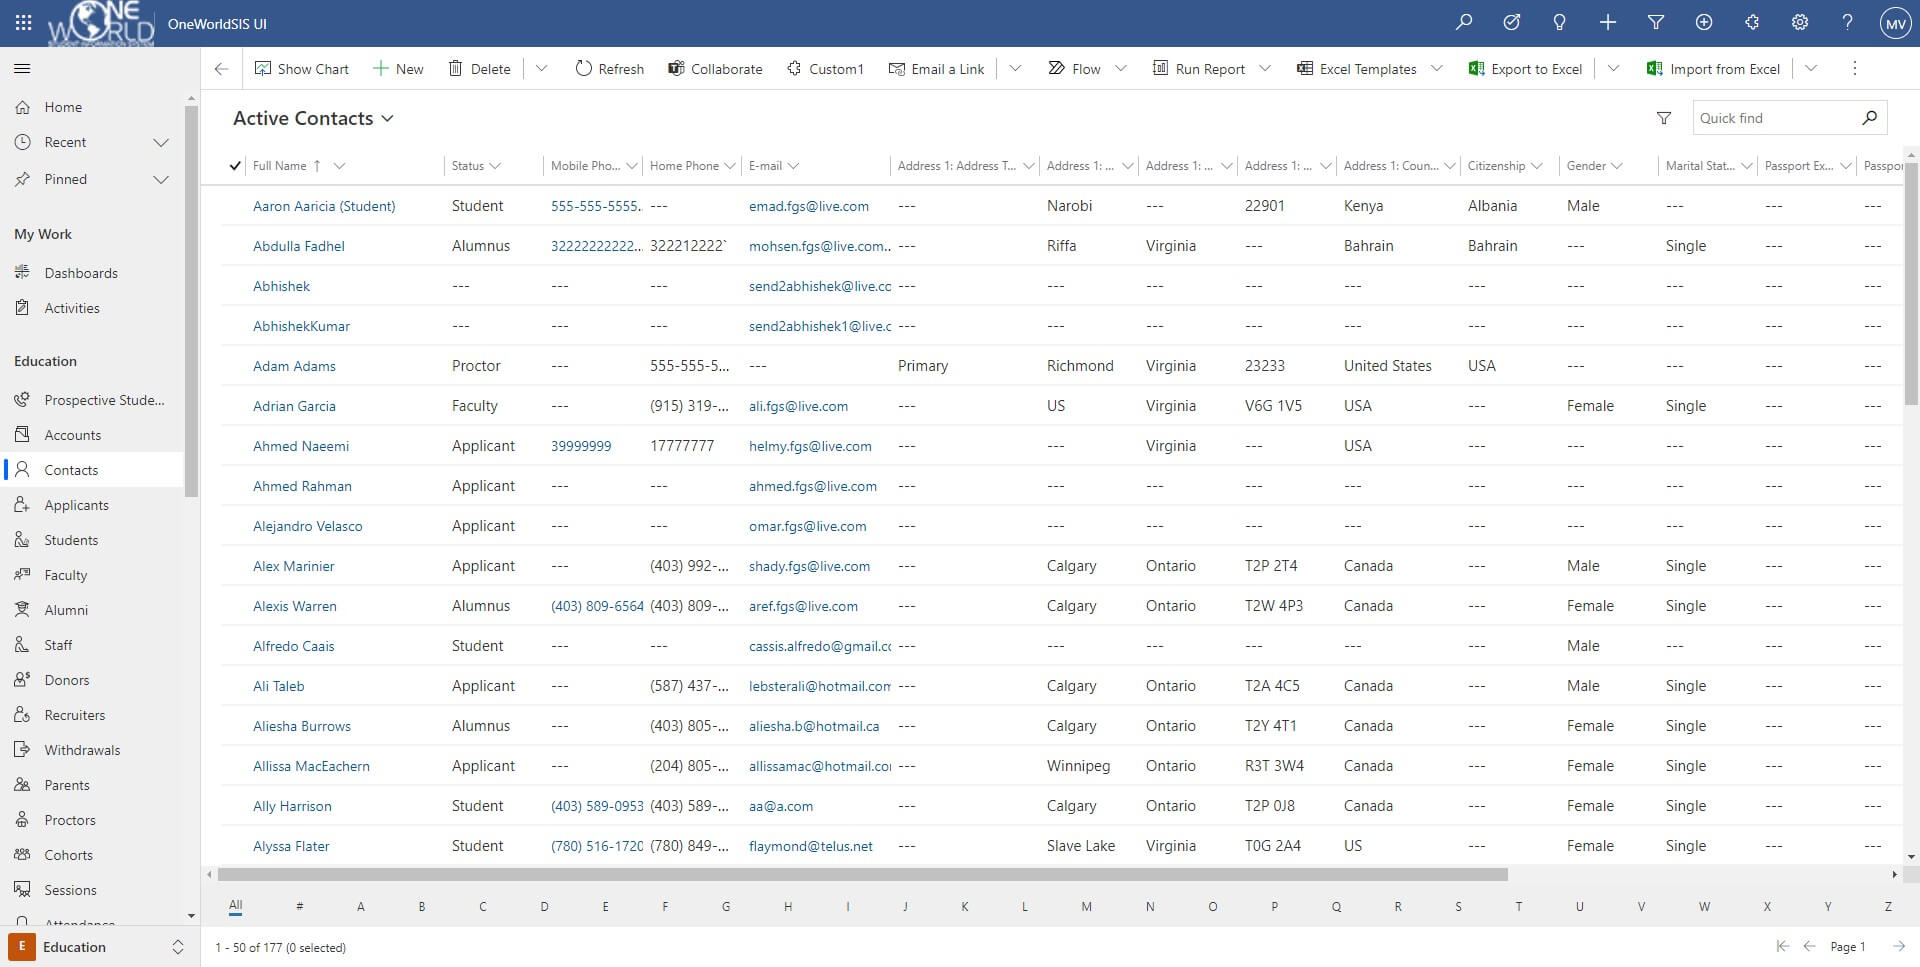
Add a Contact
People are added to OWSIS as Contacts. After the person is added as a Contact, the person can then be designated as any one of a number of constituent types including Applicant, Student, Staff, Faculty, Proctor, Recruiter, Donor or Alumni.
The minimum information needed in order to add a Contact is Last Name, Gender, and Email Address. Any other required information needed to complete a Contact record including First Name, Date of Birth, and Citizenship should be determined by each individual school.
- Choose Education >> Contacts.
- Click New which is located on the upper left side of the screen.
- Complete all of the general information including First Name, Last Name, and School.
- Click Save which is located on the lower right corner of the screen.
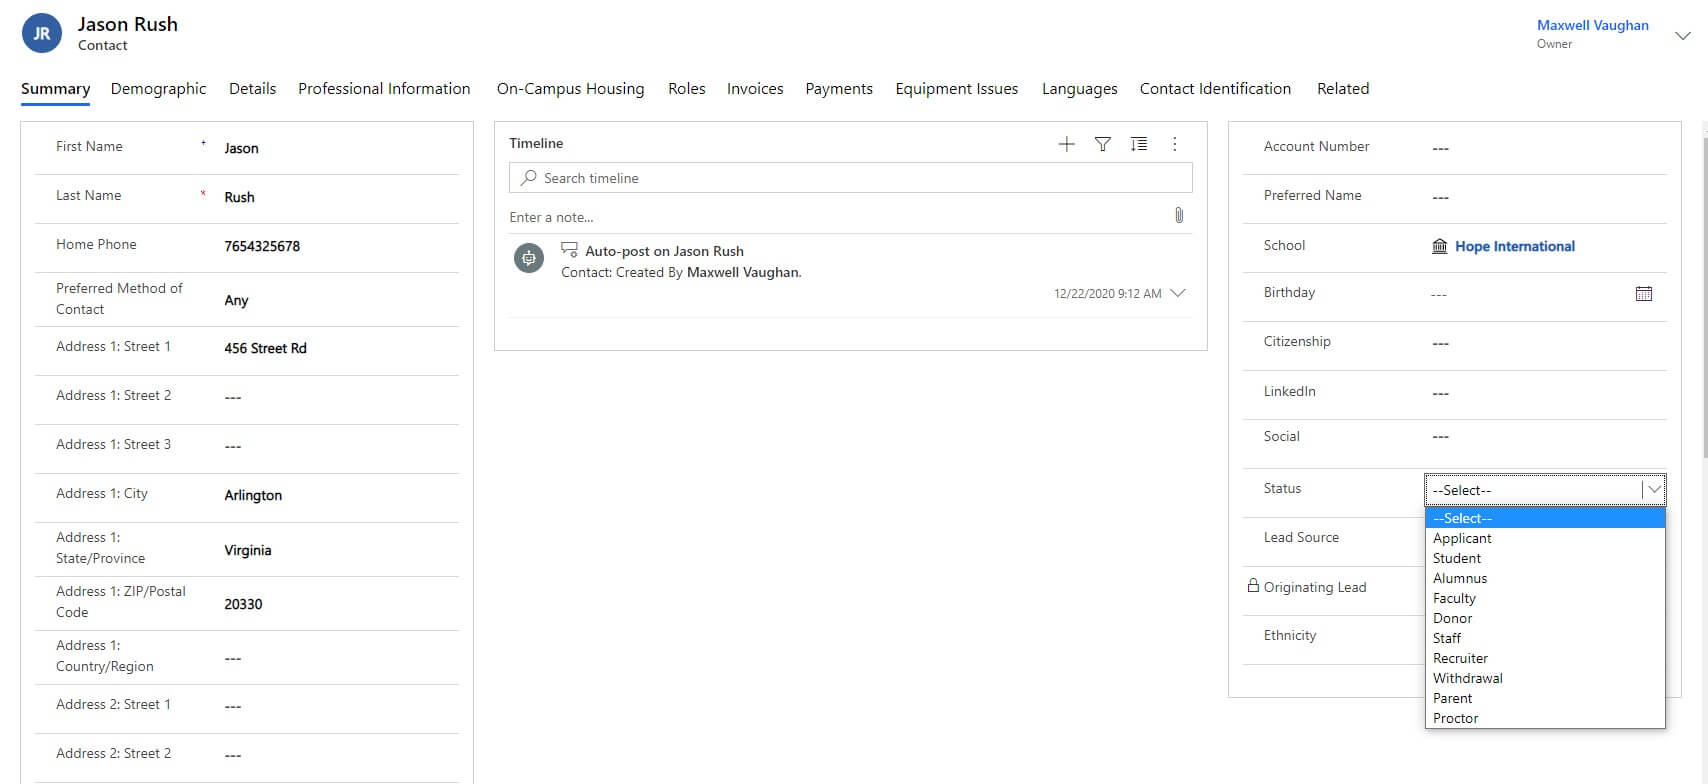
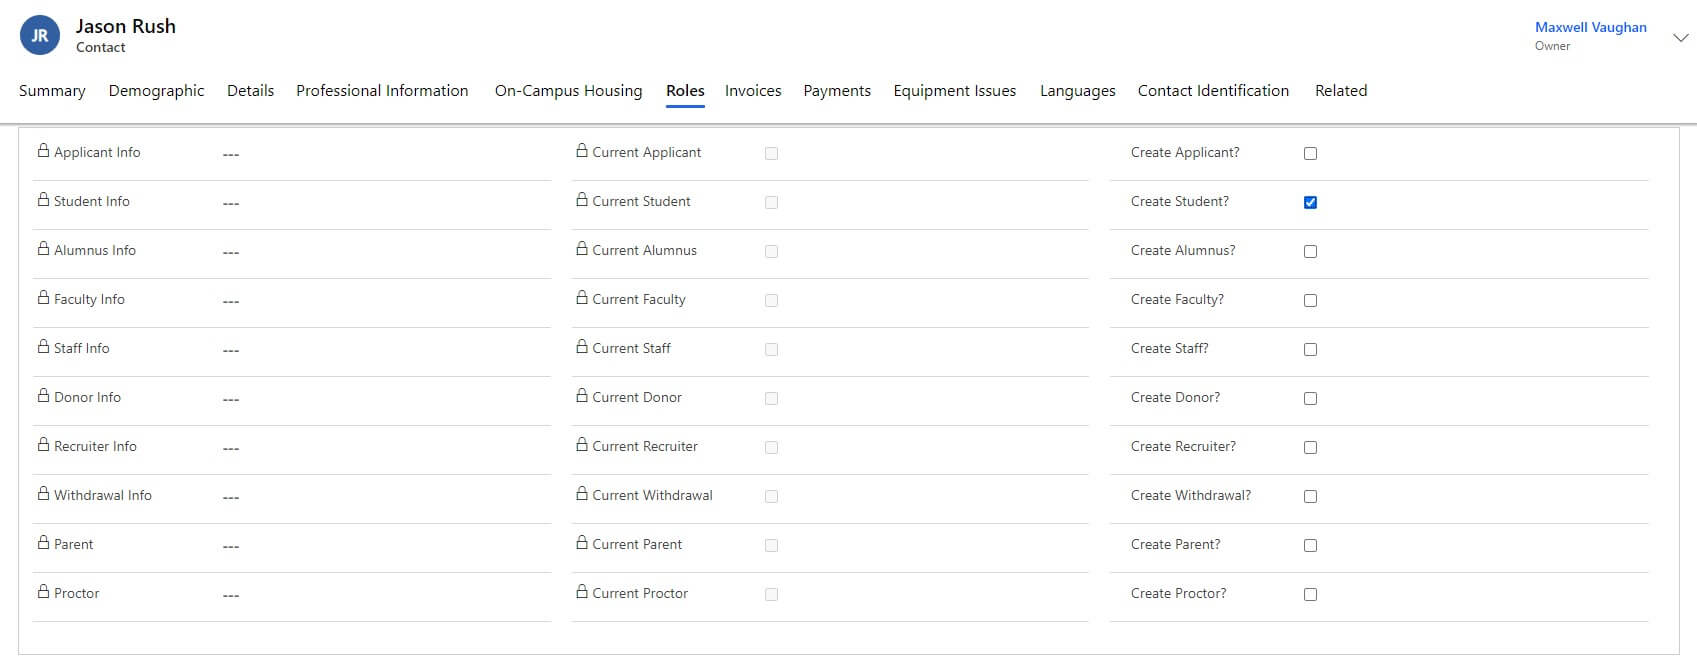
Designate the Contact as a Student
- Check the box next to Create Student.
- Click Save which is located on the lower right corner of the screen.
- This action results in the Student entity being created for the Contact, and the Current Student checkbox will also be set to Yes in the Contact record. A unique Student ID is automatically assigned to the Student, and the Student is ready to be enrolled in a Class.
Add Other Types of People
In order to add other people with different constituent’s roles including Staff or Faculty, complete the same steps for adding a new Contact. The one difference in the process is that instead of creating a Student, select the check box to create a Staff, Faculty, or any other needed role. After clicking Save for Staff or Faculty, their Constituent roles will be set to Active Status. In addition, a unique autonumbering ID for each child Constituent Role will be created.
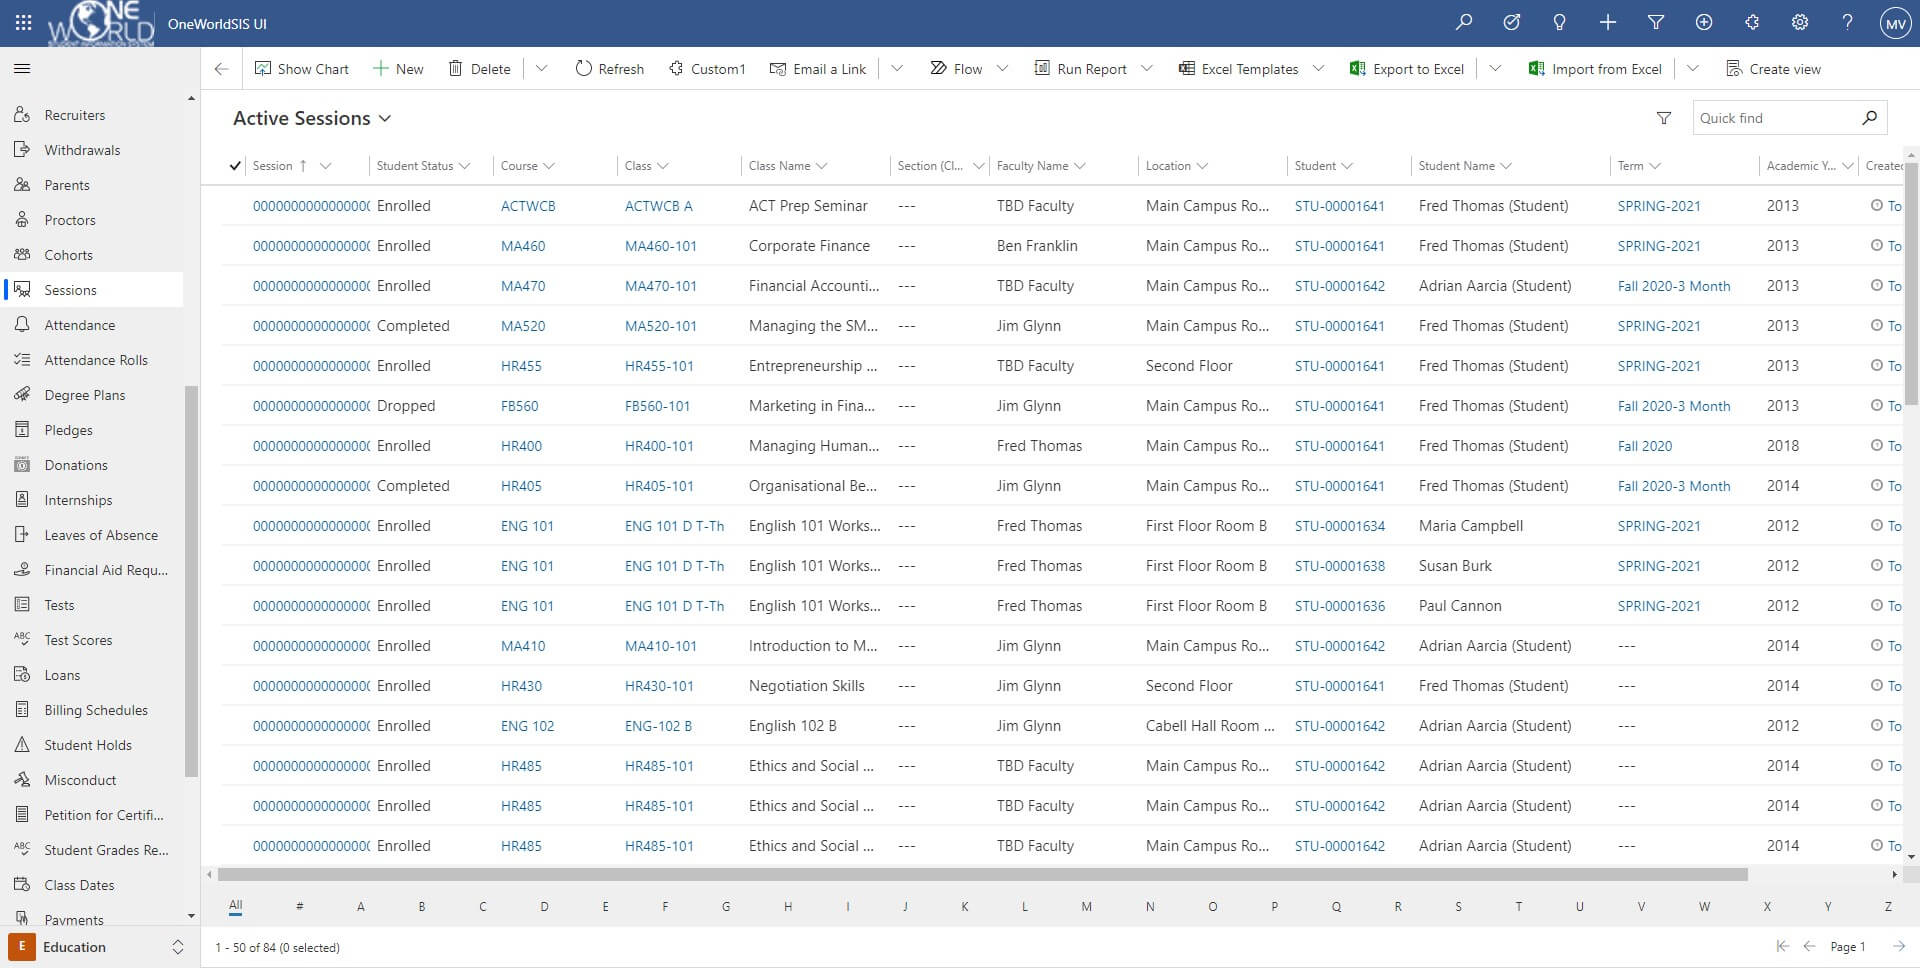
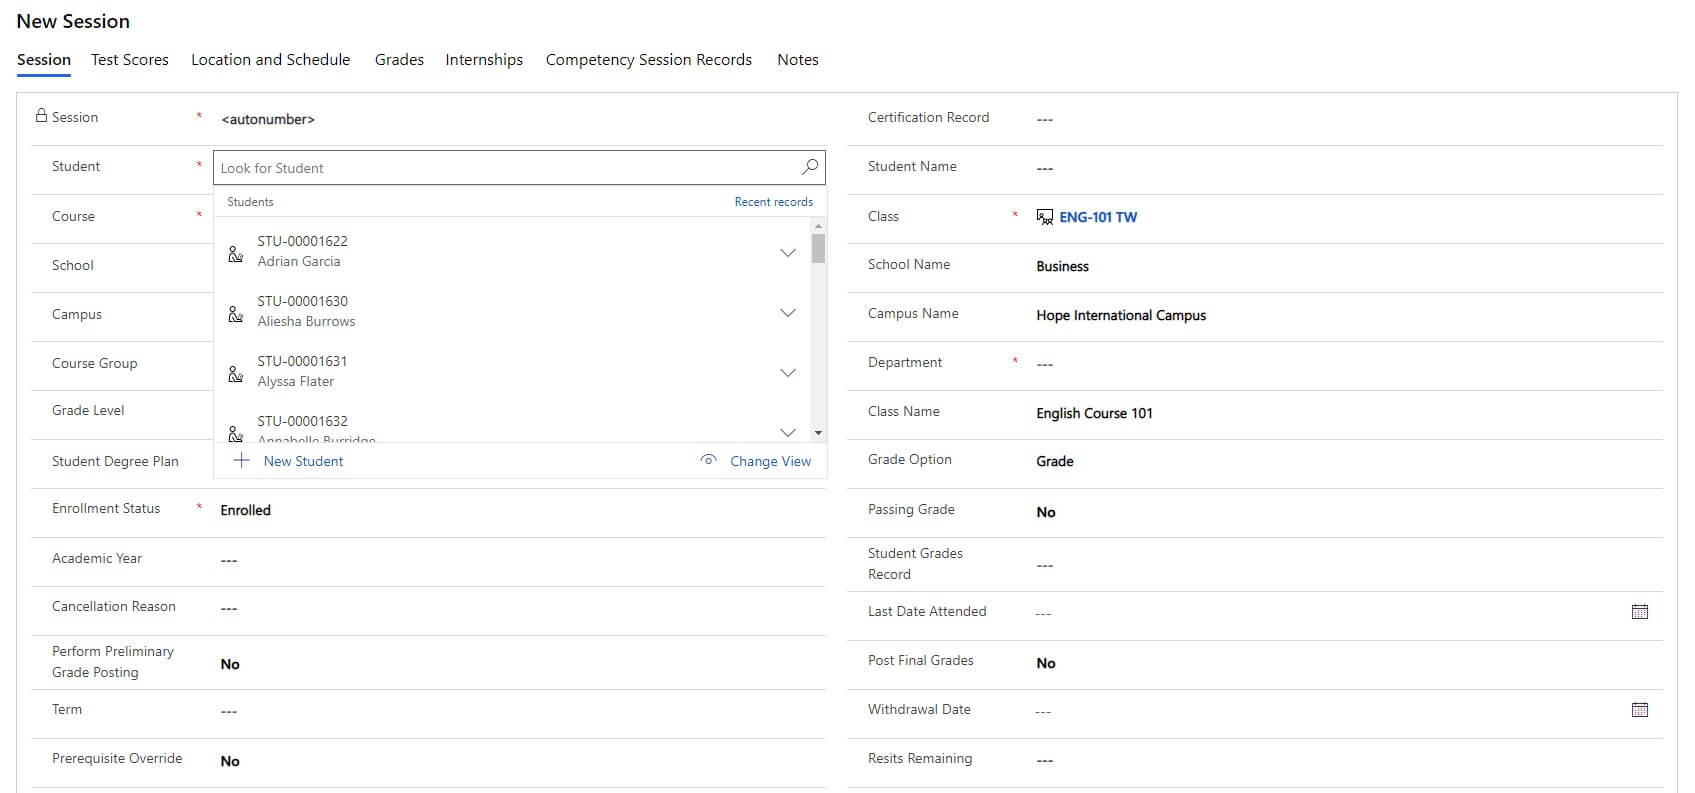
Add a Session
A Session is defined as the joining of a Student with a Class. In other words, creating a Session enrolls the Student in the Class.
- Choose Education >> Sessions.
- Click New which is located on the upper left side of the screen.
- Complete the form including all required fields. The Student can be entered by typing or using the search.
- Set the Enrollment status to Enrolled.
- Click Save which is located on the lower right corner of the screen.

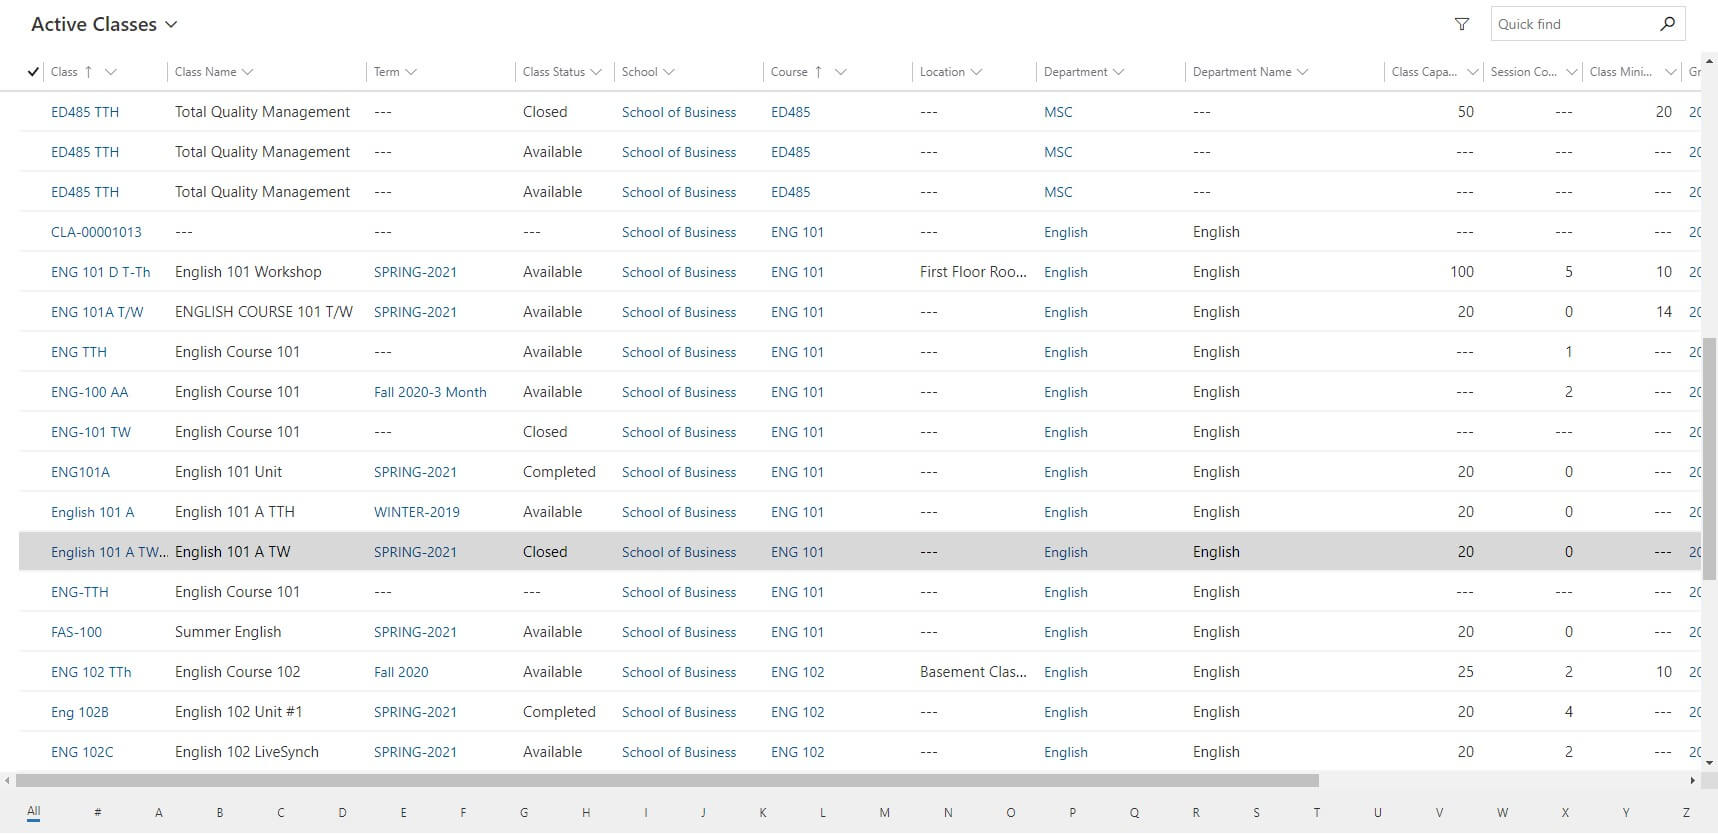
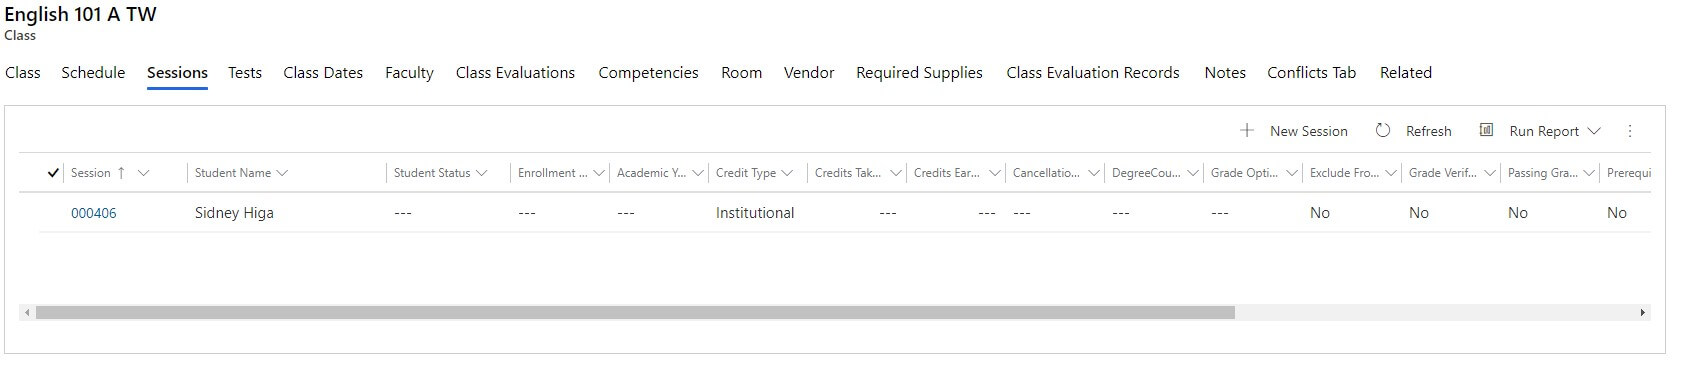
Review Class Registration
The Student Registration can be reviewed by looking at the Class record.
- Choose Education Settings >> Classes
- Click the Class Record.
- Scroll down to the Sessions section of the Class Record in order to verify that the Student has been registered for the Class.